I change the images to lower quality for faster page load
UPDATE 2:
Please remember...
Different chipset => different AHCI driver
UPDATE 3:
If you try to install Windows XP on a newer laptop, sometimes Windows XP failed to detect the hard drive, especially if your laptop using SATA AHCI mode. That's why you need to slipstream your SATA AHCI drivers into a Windows XP installation CD using nLite.
You can get the AHCI driver from Intel Chipset driver, search and download the zip version of the driver here: https://downloadcenter.intel.com/
1. Insert your original Windows XP Installation Disc and then copy all files into a folder on your local HDD.
2. Download nLite here ...
3. Install nLite and open it.
Click "Next"
4. Locate Windows XP installation files on your local disk.
5. Just click Next
6. Select tasks like on picture
Click "Next"
7. Click insert > select "Single driver" > locate the driver and click "Open"
8. Select driver like on the picture and click "OK"
Angela said... (read her comment)
The tutorial for creating the new WINXP CD was great! The driver suggested in the screenshots did not work for my computer the first time, so I made another CD with all of the Mobile drivers and it worked perfectly! Maybe you could update the screenshot? Just a minor suggestion. :) Thanks Angela
As Angela said.... You can select all of the Mobile drivers or all drivers (I have tested it), press and hold Shift then use your mouse to select all drivers.
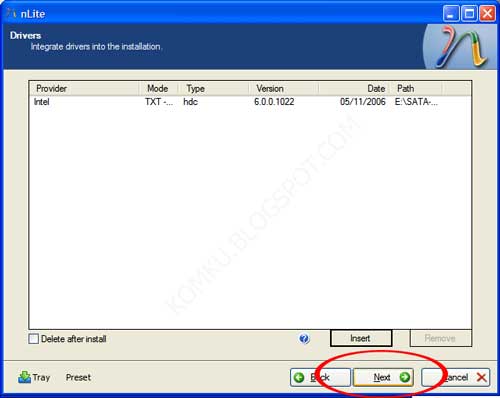
9. nLite window will look like this... Just click "Next"
10. Do you want to start the process? Click "Yes"
11. When process finished, click "Next"
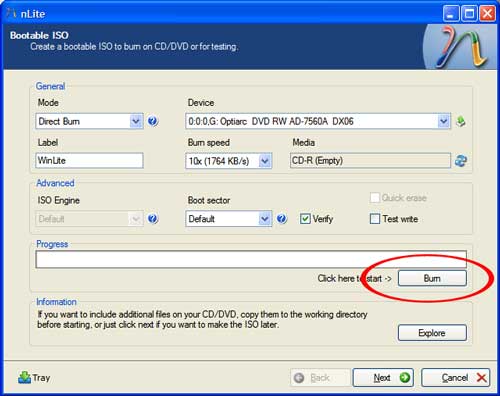
12. If your CD-RW/DVD-RW is empty, insert blank CD, do not use DVD and click refresh button.
13. After you click refresh button, select "Direct Burn", select the lowest burn speed, and click "Burn". Don't forget to check "Verifiy" (optional)
14. Please wait ... ;)
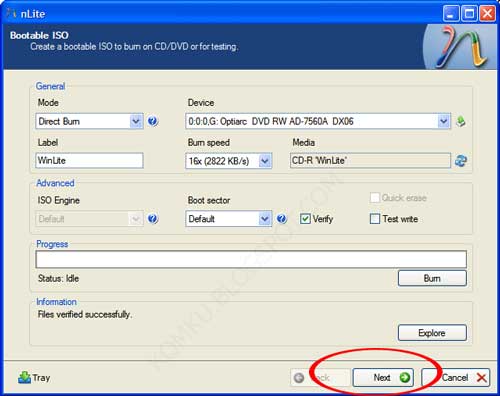
15. When burn and verifiy process completed, click "Next"
16. Enjoy your new Windows Installation CD with built in Driver for SATA AHCI :)
Read more: http://www.komku.org/2007/11/integrate-driver-into-windows.html#ixzz3KF8Zg1cY


No comments:
Post a Comment